The challenge here was creating a bot able to schedule events. Part of our internal tools at Activate Media, PlannerBot, so it has been named, is now a member of our team. He currently lives in Slack, online 24/7 for 365 days of the year, programmed with the idea in mind that one day he could be moved to Facebook Messenger, Skype, or any other messaging platform.
Demo
In this case I give a partial information, so the bot will ask me the missing details.

Now I will give him a full description of the event, he doesn’t need any other information so it will just ask me to confirm.

And here I’m scheduling a multiple-days event, the bot understands that time is not required.

Typing help or help me the bot will return a preset message.

At any point, using the words stop, don't worry or cancel the bot will forget about your event.

After 5 minutes, if you don’t answer its question, the bot will forget about your event.

PlannerBot also reminds us the daily events every morning, as described in a [previous article]({% post_url 2016-03-22-how-to-create-a-simple-slack-bot-in-nodejs %}) and it’s able to schedule new events in our company calendar as shown in the images above.
How does it work?
PlannerBot is a Slack Bot User written in Node.js. It uses a natural language parser to understand dates and time and text analysis API to understand the concepts, relations and sentiment of a sentence. When you send a message to it, the bot will try to extract as many informations as possible from it, for example date, time, subject of the action and verb tense.
The minimum informations required to schedule an event are event title, date, time and eventually a duration.
At the current state, the bot is able to understand english only.
Technologies involved
- Slack
- Node.js
- Chrono (A natural language date parser in JavaScript)
- AlchemyAPI (Semantic Text Analysis APIs Using Natural Language Processing)
- CalDAV (HTTP-based protocol for data manipulation)
Step 1: Install Node.js
If you have Node installed on your machine, you can skip this step. If not, follow the link based on your operating system:
Once you have Node & npm installed, check what version you are running:
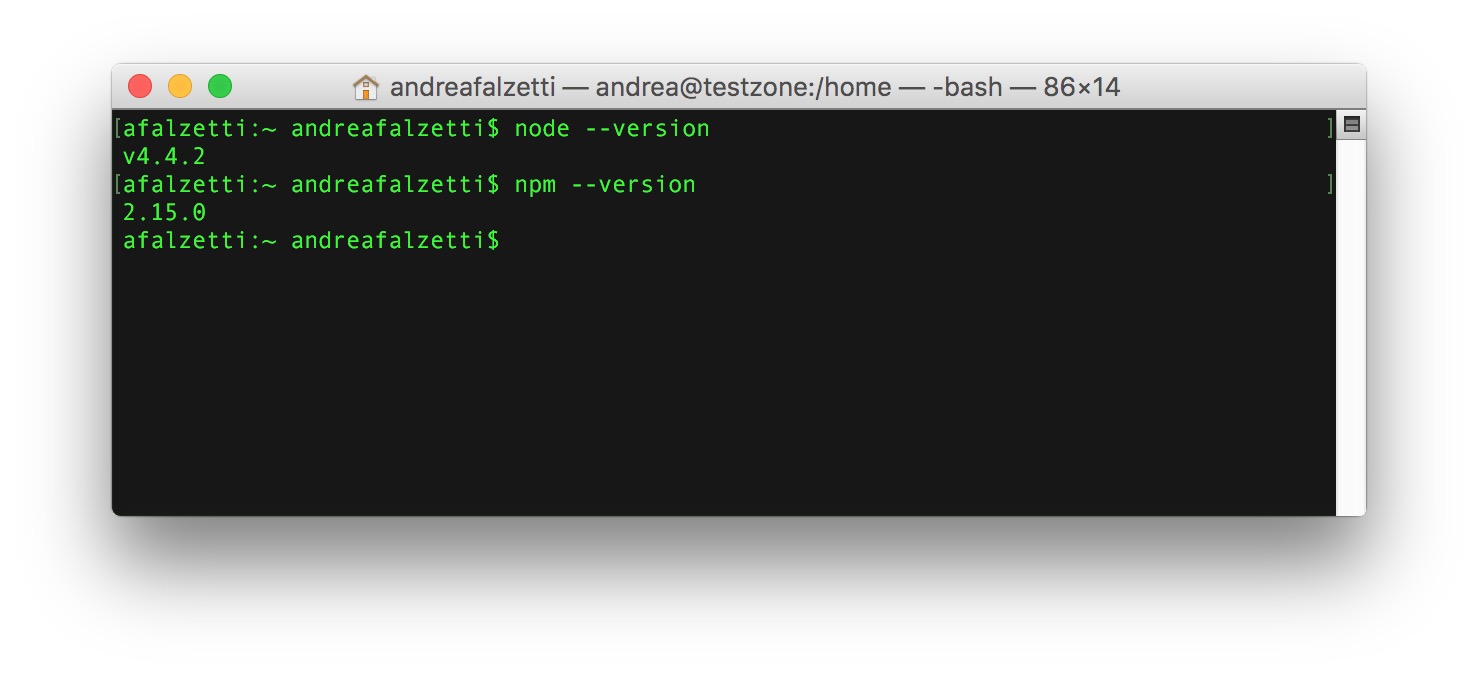
As you can see I’m using node v4.4.2 and npm 2.15.0.
Step 2: Create your Slack Bot User
When you create your custom Bot User in Slack, you can set a name, an icon, describe what it does and in which channels, and even a first & last name for your bot. In return you’ll get a API Token that allows your Node.js application to send data into Slack using your new bot-identity.
Step 3: Initialize your Node application
If you are new to Node.js I recommend you to read Learn Node.js in 90 minutes first, otherwise please keep reading.
mkdir simple-slack-bot
cd simple-slack-bot
npm init
npm install node-slackr --save
npm install express --save
npm install moment-timezone --save
npm install libxmljs --save
npm install node-caldav --save
touch index.js
touch config.js
If any of the commands above return an error (e.g. EACCESS), check that the .npm folder has the right permissions, for further informations I point you to the official docs about Fixing npm permissions.
In alternative you can initialize your project with the following package.json or clone the entire PlannerBot repository (outgoing branch).
Here’s the content of the package.json:
{
  "name": "plannerbot",
  "version": "0.0.1",
  "description": "Activate Media PlannerBot",
  "main": "index.js",
  "scripts": {
    "start": "node index.js",
    "test": "echo \"Error: no test specified\" && exit 1"
  },
  "repository": {
    "type": "git",
    "url": "git+https://github.com/ActivateMedia/plannerbot.git"
  },
  "keywords": [
    "planner",
    "slack"
  ],
  "author": "Andrea Falzetti <andrea@activate.co.uk>",
  "license": "ISC",
  "bugs": {
    "url": "https://github.com/ActivateMedia/plannerbot/issues"
  },
  "homepage": "https://github.com/ActivateMedia/plannerbot#readme",
  "dependencies": {
    "alchemy-api": "^1.3.1",
    "body-parser": "^1.15.0",
    "cb": "^0.1.0",
    "chrono-node": "^1.1.5",
    "express": "^4.13.4",
    "libxmljs": "^0.17.1",
    "moment-timezone": "^0.5.1",
    "node-cache": "^3.2.0",
    "node-slackr": "^0.1.2",
    "slackbots": "^0.5.1"
  }
}
As you have maybe noticed, in my package.json I don’t have a dependency for node-caldav, the package in charge of retrieving & parsing the iCalendar feed. This is because I’m using an improved forked version that you can find here.
The main reason of why I did this is because it wasn’t parsing correctly the iCalendar feed that I was working with so if you are experiencing any parsing issue have a look at it.
Step 4: Edit the configuration file
I like to keep all global variables like api keys on a separate file, if you like this approach, edit config.js with your favorite code editor, I’m currently using Atom.io, and assign the values to the variables required.
var config = {};

config.app = {};
config.api = {};
config.caldav = {};
config.slack = {};
config.alchemyapi = {};

// App Settings
config.app.name = "PlannerBot";

// calDav Settings
config.caldav.url = "";
config.caldav.username = "";
config.caldav.password = "";
config.caldav.timeFormat = "YYYYMMDDTHHmms";

// API Settings
config.api.port = 3000;

// Slack WebHook Settings
config.slack.username = config.app.name;
config.slack.emoji = ":calendar:";
config.slack.channel = "";
config.slack.webhook_url = "";
config.slack.eventColor = "good"; // can either be one of good, warning, danger, or any hex color code (eg. #439FE0).
config.slack.bot_token = "";

// AlchemyAPI Settings
config.alchemyapi.api_key = "";

// Do Not edit the following code
module.exports = config;
Step 5: Edit
I have used this approach to code the Bot so the code that defines the bot is located in lib/plannerbot.js.
Step 6: Edit the main file
Now edit your index.js
'use strict';

var util = require('util');
var config = require('./config');
var https = require("https");
var xmljs = require("libxmljs");
var express = require('express');
var caldav = require("node-caldav");
var moment = require('moment-timezone');
var bodyParser = require('body-parser')
var AlchemyAPI = require('alchemy-api');
var Bot = require('slackbots');
var PlannerBot = require('./lib/plannerbot');
var NodeCache = require('node-cache');

var myCache = new NodeCache();

var plannerbot = new PlannerBot({
    token: config.slack.bot_token,
    name: config.slack.username.toLowerCase(),
    max_timeout: 5,
    cleaning_interval: 60000
});

plannerbot.run();

// Initialising AlchemyAPI
var alchemy = new AlchemyAPI(config.alchemyapi.api_key);

// Initialising Express APP
var app = express();

app.use( bodyParser.json() );       // to support JSON-encoded bodies
app.use(bodyParser.urlencoded({     // to support URL-encoded bodies
  extended: true
}));

// Initialising Slack Client
var Slack = require('node-slackr');
var slack = new Slack(config.slack.webhook_url,{
  channel: config.slack.channel,
  username: config.slack.username,
  icon_emoji: config.slack.emoji
});