In this post I want to help you creating a simple Slack bot with Node.js.
Slack has created two different integrations methods, Incoming/Outcoming Webhooks and Bot Users. If you are interested in the latter case, please read my article about [Creating a Slack User Bot]({% post_url 2016-04-4-how-to-create-a-smart-slack-bot-in-nodejs %}).
In this article, we are going to integrate the Slack Incoming Webhooks which allows you to send data into Slack in real-time.
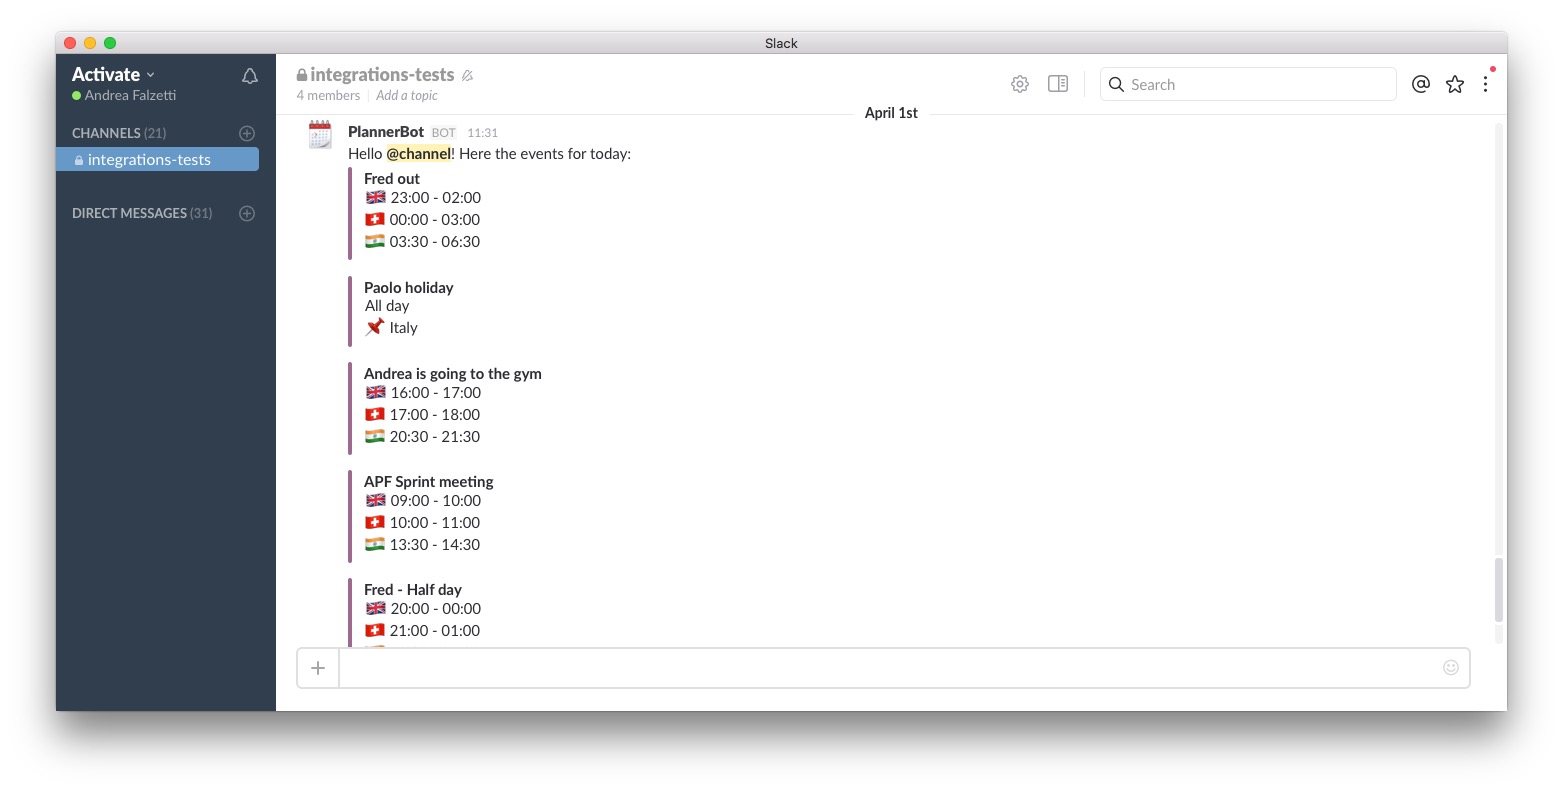
The application created in this example reads the events from a calendar and sends the daily events to a Slack channel. At Activate Media we use this bot everyday. Check out The Activate bot story for more informations.
Step 1: Install Node.js
If you have Node installed on your machine, you can skip this step. If not, follow the link based on your operating system:
Once you have Node & npm installed, check what version you are running:
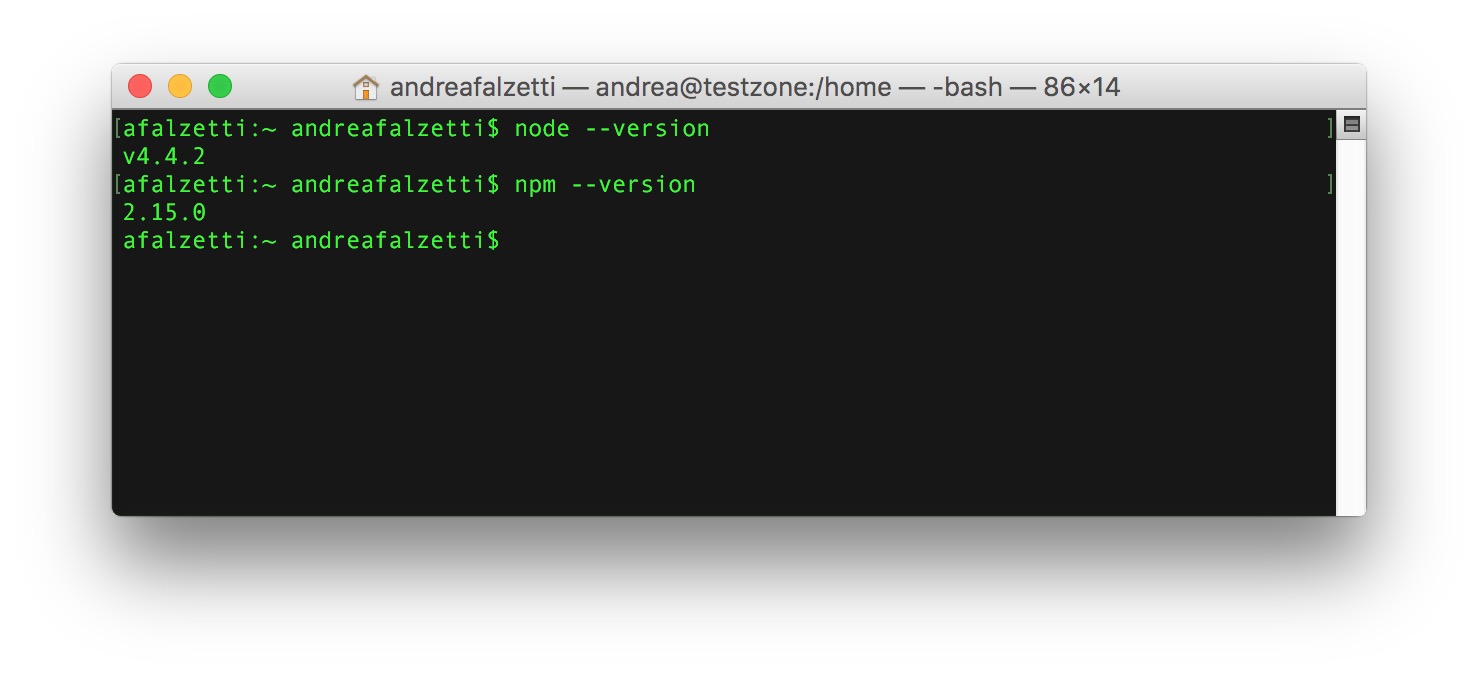
As you can see I’m using node v4.4.2 and npm 2.15.0.
Step 2: Create your custom Slack integration
First thing you can do is set up an Incoming Webhook for you Slack channel. Once you have done it, you’ll have a Webhook URL that will be the gateway for all your HTTP/POST requests formatted in JSON containing the data that you want to send to Slack.
Example:
curl -X POST --data-urlencode 'payload={"channel": "#general", "username": "webhookbot", "text": "This is posted to #general and comes from a bot named webhookbot.", "icon_emoji": ":ghost:"}' YOUR_WEBHOOK_URL_HERE
Step 3: Initialize your Node application
If you are new to Node.js I recommend you to read Learn Node.js in 90 minutes first, otherwise please keep reading.
mkdir simple-slack-bot
cd simple-slack-bot
npm init
npm install node-slackr --save
npm install express --save
npm install moment-timezone --save
npm install libxmljs --save
npm install node-caldav --save
touch index.js
touch config.js
If any of the commands above return an error (e.g. EACCESS), check that the .npm folder has the right permissions, for further informations I point you to the official docs about Fixing npm permissions.
In alternative you can initialize your project with the following package.json or clone the entire PlannerBot repository
Here’s the content of the package.json:
{
  "name": "plannerbot",
  "version": "0.0.1",
  "description": "Activate Media PlannerBot",
  "main": "index.js",
  "scripts": {
    "test": "echo \"Error: no test specified\" && exit 1"
  },
  "repository": {
    "type": "git",
    "url": "git+https://github.com/ActivateMedia/plannerbot.git"
  },
  "keywords": [
    "planner",
    "slack"
  ],
  "author": "Andrea Falzetti <andrea@activate.co.uk>",
  "license": "ISC",
  "bugs": {
    "url": "https://github.com/ActivateMedia/plannerbot/issues"
  },
  "homepage": "https://github.com/ActivateMedia/plannerbot#readme",
  "dependencies": {
    "express": "^4.13.4",
    "libxmljs": "^0.17.1",
    "moment-timezone": "^0.5.1",
    "node-slackr": "^0.1.2"
  }
}
As you have maybe noticed, in my package.json I don’t have a dependency for node-caldav, the package in charge of retrieving & parsing the iCalendar feed. This is because I’m using an improved forked version that you can find here.
The main reason of why I did this is because it wasn’t parsing correctly the iCalendar feed that I was working with so if you are experiencing any parsing issue have a look at it.
Step 4: Edit the configuration file
I like to keep all global variables like api keys on a separate file, if you like this approach, edit config.js with your favorite code editor, I’m currently using Atom.io, and assign the values to the variables required.
var config = {};

config.app = {};
config.api = {};
config.caldav = {};
config.slack = {};

/* App Settings */
config.app.name = "PlannerBot";

/* calDav Settings */
config.caldav.url = "";
config.caldav.username = "";
config.caldav.password = "";
config.caldav.timeFormat = "YYYYMMDDTHHmms";

/* API Settings */
config.api.port = 3000;

/* Slack WebHook Settings */
config.slack.username = config.app.name;
config.slack.emoji = ":calendar:";
config.slack.channel = "";
config.slack.webhook_url = "";
config.slack.eventColor = "good"; // can either be one of good, warning, danger, or any hex color code (eg. #439FE0).

/* Do Not edit the following code */
module.exports = config;
Step 5: Edit the main file
Now edit your index.js
var config = require('./config');
var https = require("https");
var xmljs = require("libxmljs");
var express = require('express');
var caldav = require("node-caldav");
var moment = require('moment-timezone');

/* Initializing Slack Client */
Slack = require('node-slackr');
slack = new Slack(config.slack.webhook_url,{
  channel: config.slack.channel,
  username: config.slack.username,
  icon_emoji: config.slack.emoji
});

/* Initializing Express APP */
var app = express();

/* Root API Endpoint */
app.get('/', function (req, res) {
 res.send('Hi, I\'m ' + config.app.name + "!");
});

/*
 * Main Express Process
 */
app.listen(3000, function () {
 console.log(config.app.name + ' listening on port ' + config.api.port);
});
Step 6: Add an API Endpoint
In your index.js add the following code, will create a listener on application_url/today
/* Today Events API Endpoint */
app.get('/today', function (req, res) {
  getTodayEvents(function(events) {
     events.sort(compare);
     postTodayEvents(events, function(result) {
         res.send("Slack message sent successfully");
     });
  });
});
Step 7: Get the events from the calendar with CalDAV
CalDAV, Calendaring Extensions to WebDAV is an extension of WebDAV (HTTP-based protocol for data manipulation) and it uses the iCalendar format.
I have found really useful reading the article Build a CalDAV client which explains you how this protocol works, providing querying examples and all the HTTP parameters required in order to make your requests.
// This function retrieves the events from the calendar
// and return an array of objects
function getTodayEvents(cb) {
  var query_start_date = moment().set({'hour': 0, 'minute': 0, 'second': 10}).format(config.caldav.timeFormat) + "Z";
  var query_end_date = moment().set({'hour': 23, 'minute': 59, 'second': 59}).format(config.caldav.timeFormat) + "Z";
  var output = {};
  output.start_date = query_start_date;
  output.end_date = query_end_date;

  caldav.getEvents(config.caldav.url, config.caldav.username, config.caldav.password, query_start_date, query_end_date, function(res) {
     cb(res);
  });
}
Step 8: Send a Slack message with the events
Our team is located in different timezones, so the message will be localized in 3 different times. You can change this in var timezones;
function postTodayEvents(events, cb) {

  var goodMorningMsg = "Hello <!channel|channel>! Here the events for today:";

  if(events.length === 0) {
     goodMorningMsg = "Hello from PlannerBot! There are no events in the calendar today.";
  }

  var messages = {
    text: goodMorningMsg,
    channel: config.slack.channel,
    attachments: []
  };

  events.forEach(function(event) {

    var tzid = event.getFirstProperty('dtstart').getParameter('tzid');
    var eventLabels = "";
    var startDate = event.getFirstProperty('dtstart').getFirstValue().toString();

    var startDateLabel = "";
    if(startDate.length <= 10) {
      //es 2016-03-09 or 20130309
      startDateLabel = "All day";
    } else {
      var endDate = event.getFirstProperty('dtend').getFirstValue().toString();

      if(typeof tzid !== "undefined") {
        var _m1 = moment.tz(startDate, tzid);
        var _m2 = moment.tz(endDate, tzid);
      } else {
        // Floating Timezone or Undefined
        var _m1 = moment(startDate);
        var _m2 = moment(endDate);
      }

      var timezones = [{
                         "tzid": "Europe/London",
                         "icon": ":uk:"
                        },
                        {
                         "tzid": "Europe/Zurich",
                         "icon": ":flag-ch:"
                        },
                        {
                         "tzid": "Asia/Colombo",
                         "icon": ":flag-in:"
                        }];

      for (var i = 0, len = timezones.length; i < len; i++) {
        var _tmp = timezones[i].icon + " " + _m1.tz(timezones[i].tzid).format('HH:mm') + " - " + _m2.tz(timezones[i].tzid).format('HH:mm');
        if(i < len) {
          startDateLabel += "\n";
        }
        startDateLabel += _tmp;
      }
    }
    eventLabels += startDateLabel;
    var locationLabel = "";
    var location = event.getFirstPropertyValue('location');
    if(location !== null) {
       locationLabel = location;
    }
    if(locationLabel.length > 0) {
      eventLabels += "\n:pushpin: " + locationLabel;
    }

    var notesLabel = "";
    var description = event.getFirstPropertyValue('description');
    var summary = event.getFirstPropertyValue('summary');
    if(description !== null) {
       if(description.indexOf(summary) < 0) {
       	    notesLabel = description;
    	 }
    }
    if(notesLabel.length > 0) {
      eventLabels += "\n:pencil2: " + notesLabel;
    }

    var _tmpObj = {
        fallback: "fallback text",
        color: config.slack.eventColor,
        fields: [{
                  title: stripslashes(summary),
		  value: stripslashes(eventLabels),
                  short: false
                 }]
    };
    messages.attachments.push(_tmpObj);
  });

  slack.notify(messages, function(err, result) {
    if(err !== null) {
      console.log(err, result);
    }
  });

  cb(true);
}
Step 9: Add helper functions
In your index.js add the following helper functions:
var findPropertyNameByRegex = function(o, r) {
  var key;
  for (key in o) {
    if (key.match(r)) {
      return key;
    }
  }
  return undefined;
};
function compare(a,b) {

  var startDate_a = findPropertyNameByRegex(a, "DTSTART");
  var startDate_b = findPropertyNameByRegex(b, "DTSTART");

  if (a[startDate_a] < b[startDate_b])
    return -1;
  else if (a[startDate_a] > b[startDate_b])
    return 1;
  else
    return 0;
}
function stripslashes(str) {
  return (str + '')
    .replace(/\\(.?)/g, function(s, n1) {
      switch (n1) {
      case '\\':
        return '\\';
      case '0':
        return '\u0000';
      case '':
        return '';
      default:
        return n1;
      }
    });
}
Step 10: Run the application
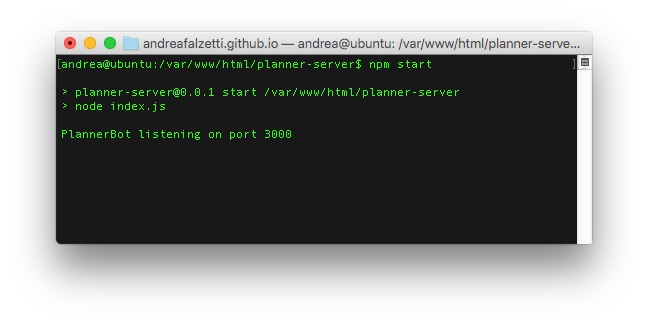
From the root folder of your application, run npm start or node index.js. You should see something like this:
Now you are ready to call your API Endpoint at your-app-domain/today and if you have configured everything correctly, your bot will post a message on Slack with your events for today.
What next?
In the next article, you will see [How to create a smart Slack Bot in Node.js that schedules appointments for you]({% post_url 2016-04-4-how-to-create-a-smart-slack-bot-in-nodejs %}).